想要学一门新的技术,最快了解它的方式就是运行写一个简短的demo,然后跑起来。今天教大家用Android Studio创建一个Flutter项目,然后跑起来。然后尝试修改一些值,体验Flutter的热加载。
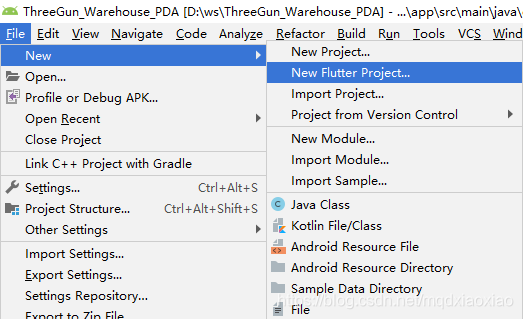
1.菜单选择New Flutter Project

2.输入项目名、选择Flutter SDK路径、项目存放位置和项目描述,点击Next下一步

3.设置包名,然后点击Finish按钮

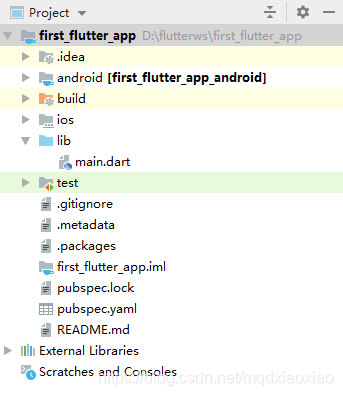
4.创建完成后的项目结构
5.main.dart
lib文件夹下的main.dart文件,主要看这个文件,一开始看不懂也没关系,先运行起来再说
1 | import 'package:flutter/material.dart'; |
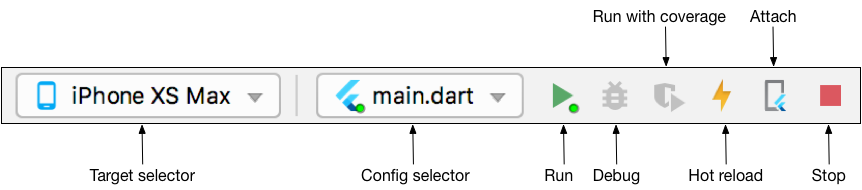
6.运行
点击Run按钮运行
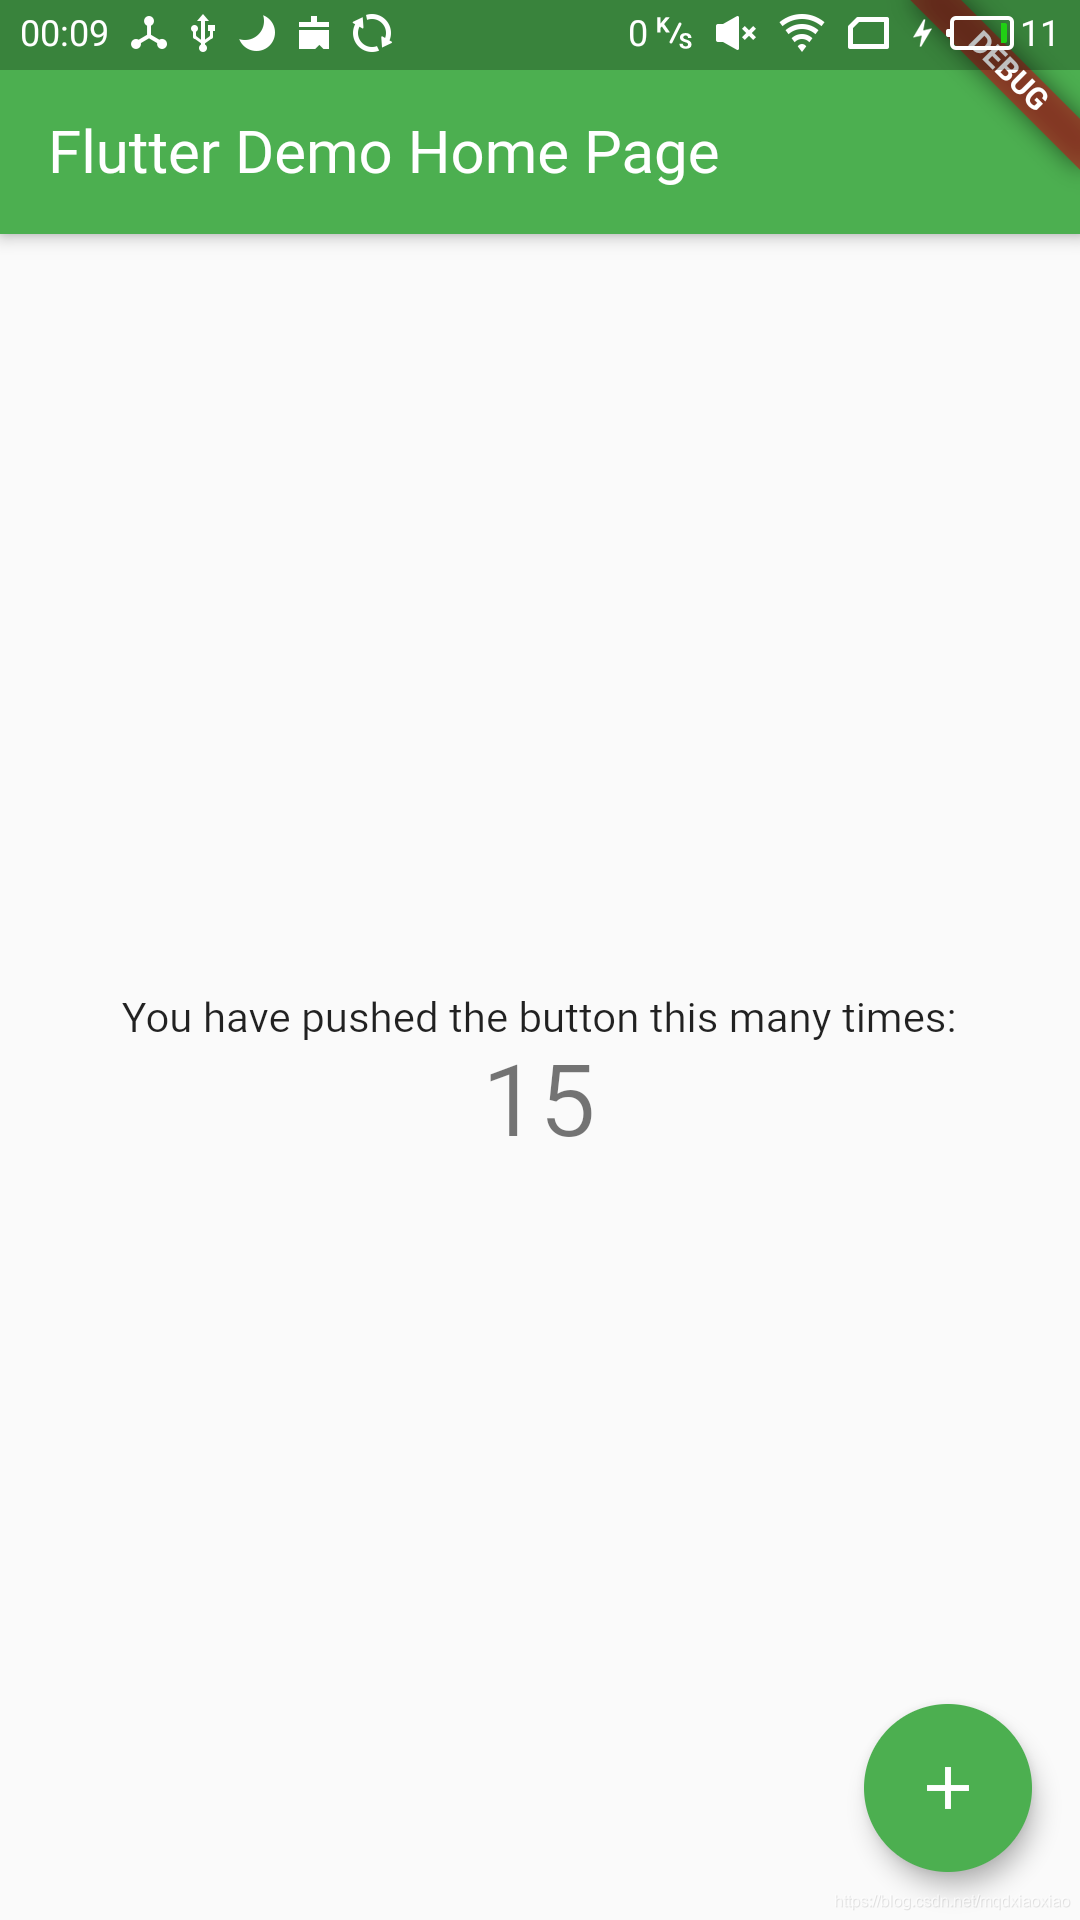
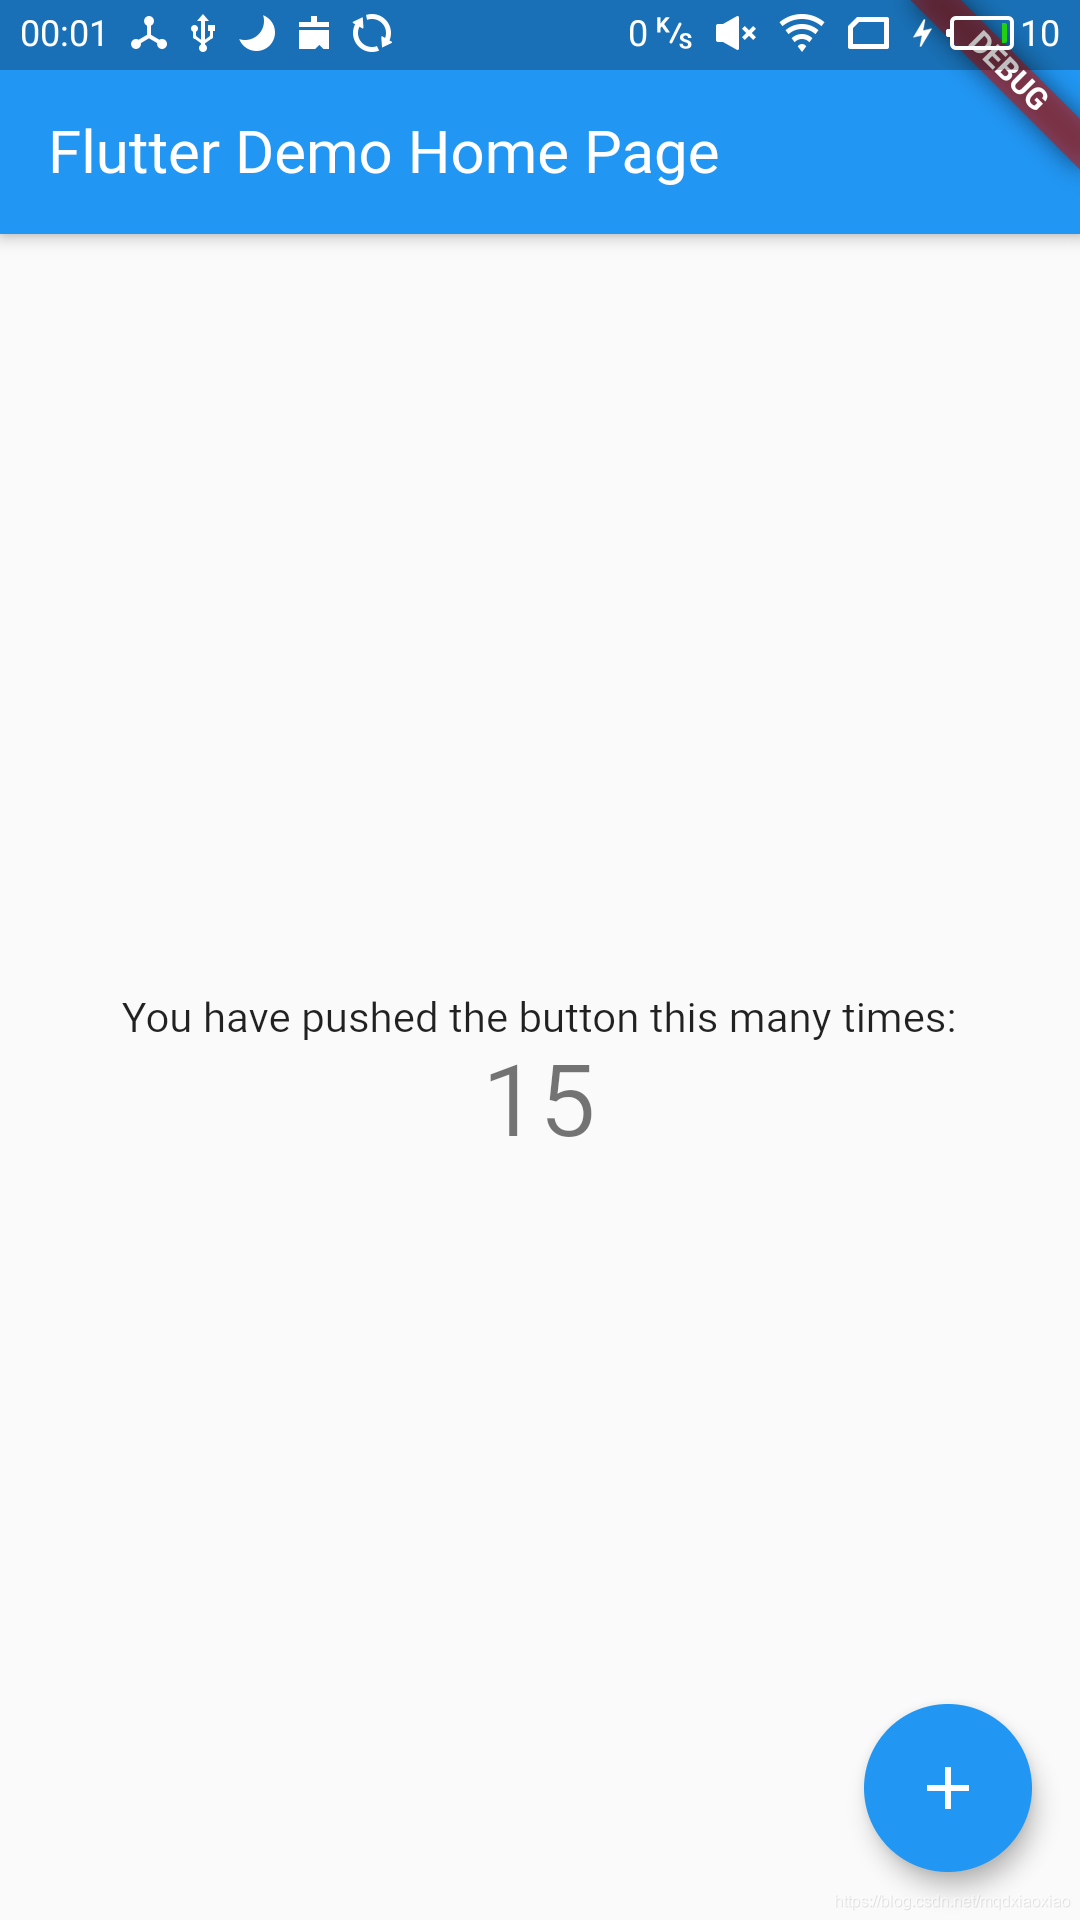
运行结果如下,中间文字显示右下角按钮被点击的次数
7.热重载
Ctrl+S保存或者按Hot reload按钮热重载代码,而无需重启应用,应用的原有状态不会改变
将main.dart文件中主题的颜色由blue改成green,然后点击Hot reload按钮
1 | theme: ThemeData( |
可以看到应用不用重启主题直接变成绿色,而且状态保留,中间的数字还是保持15,而不是0。
而且热重载的加载速度极快,我试了下顶多一秒,简直爽歪歪。